 DDM Help
Calendar and appointments
The calendar shows your appointments – and for each appointment, the material you need for it. It can include your calendars from Microsoft 365, Google or iCloud. On a smartphone, you open it via More › Calendar.
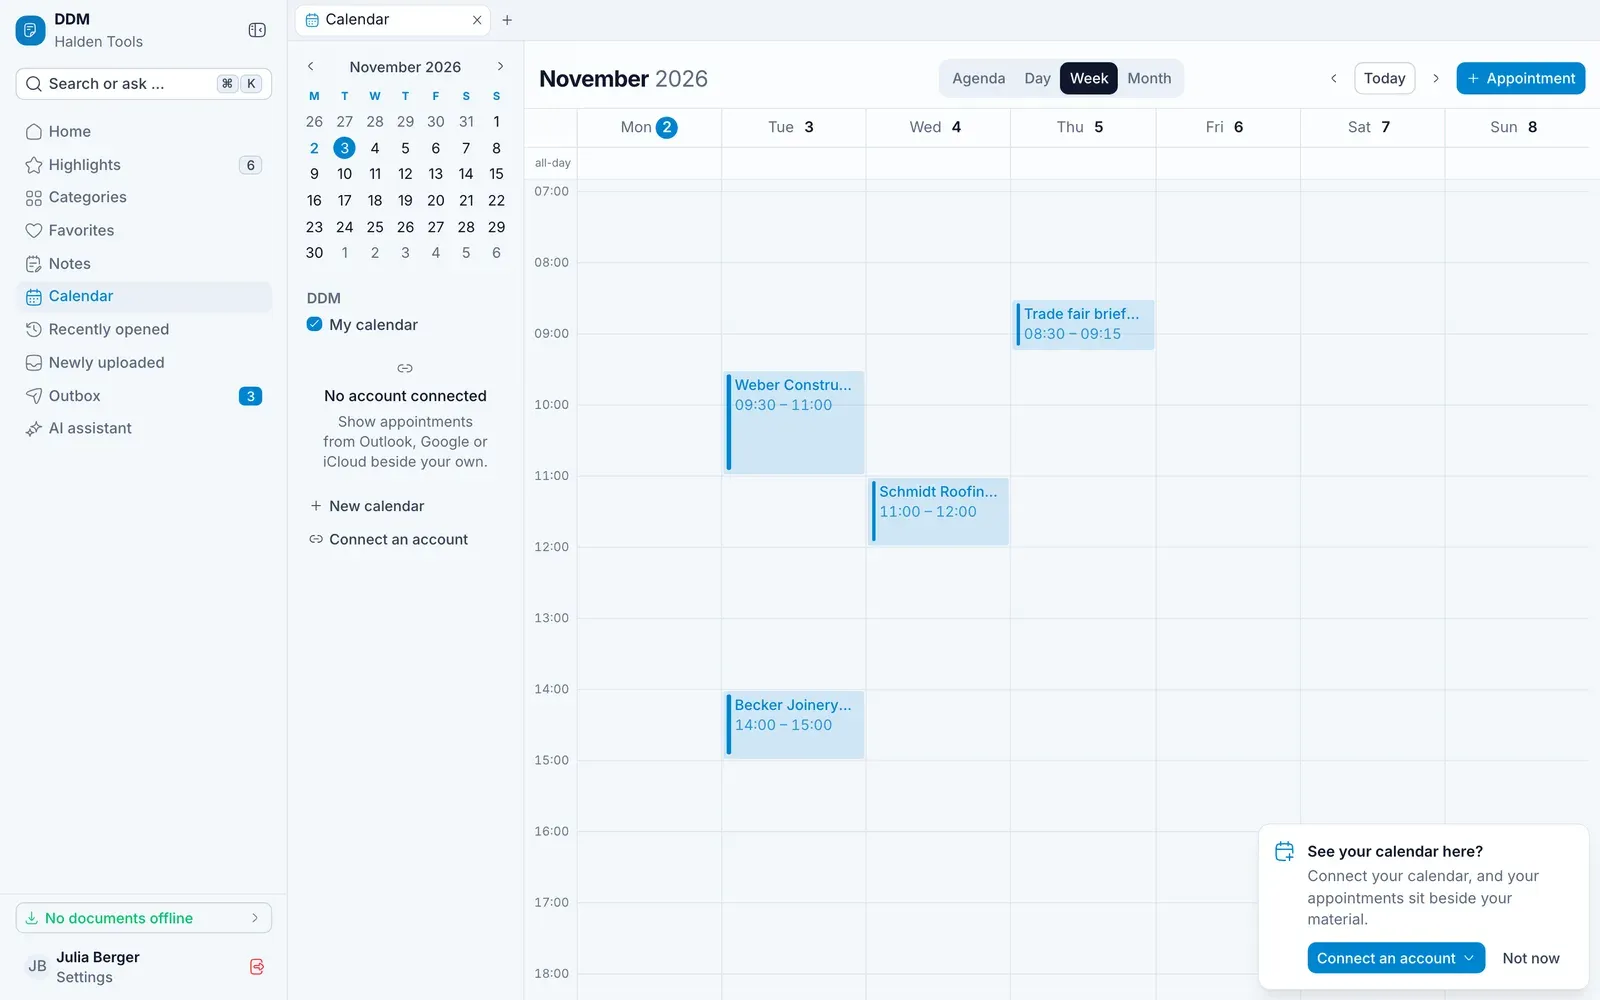
Views
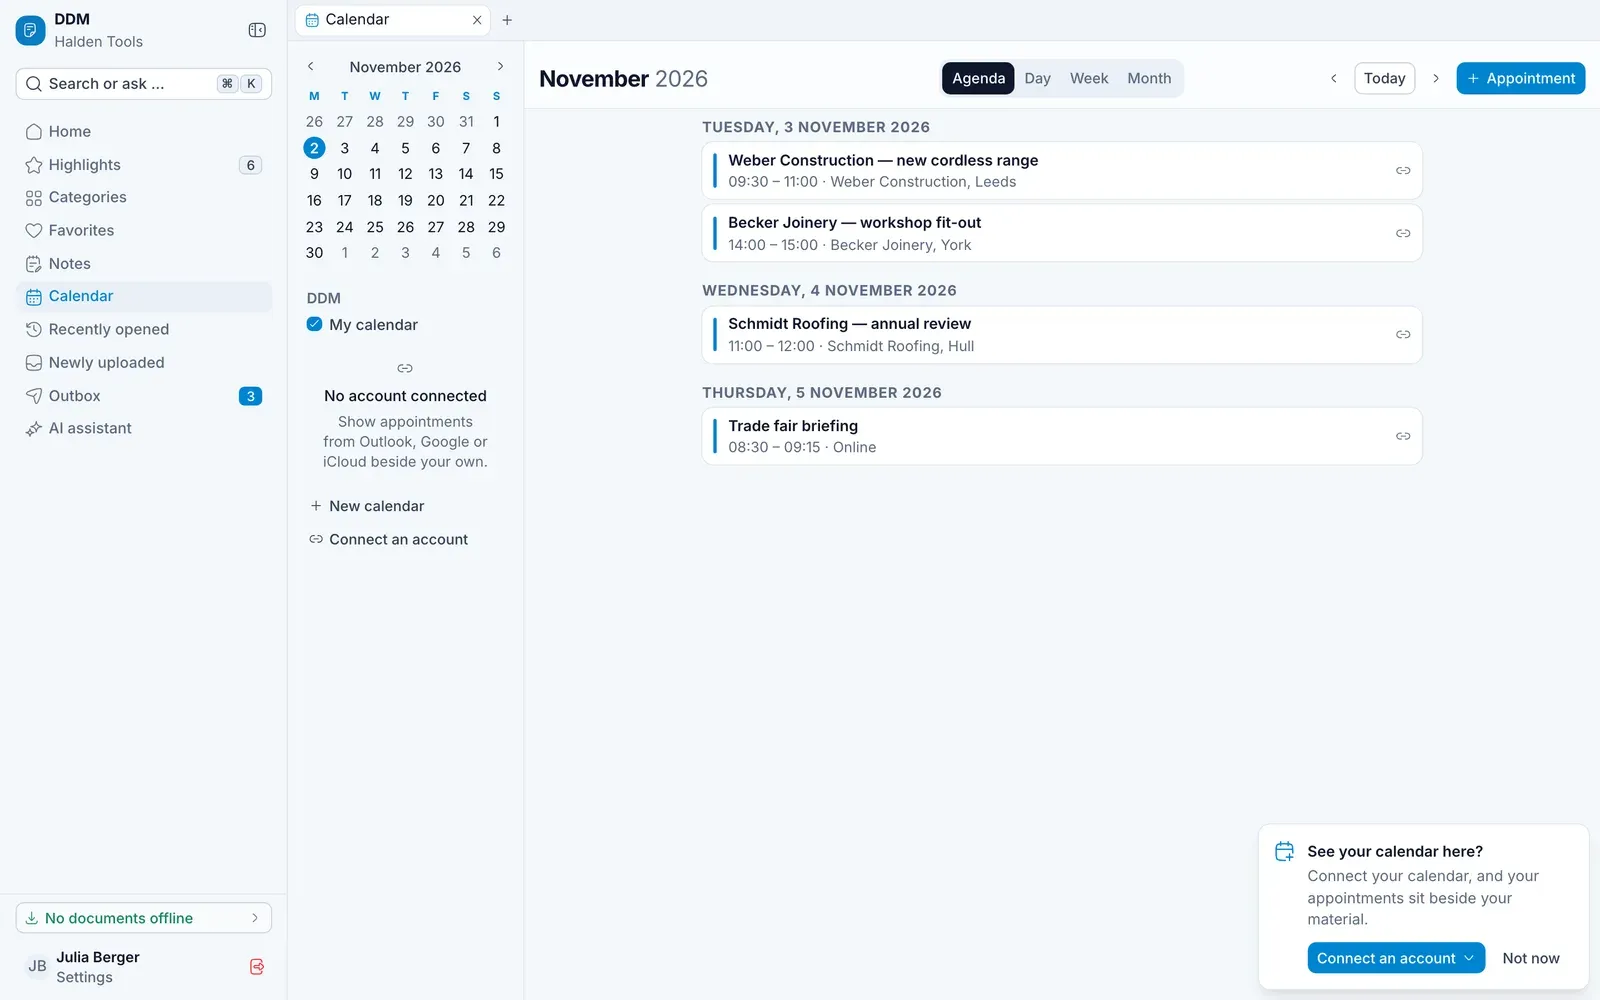
At the top, choose Agenda, Day, Week or Month and page through with Previous, Today and Next.
- Agenda lists your appointments for today and the next two weeks, day by day. Days without appointments are left out.
- Day, Week and Month show the appointments in a grid.
On a smartphone, the calendar opens on the Agenda, and Week shows three days (3 days). The button at the top right, with the name of the current view, opens a menu with the views, Today and Calendars & accounts.
Connecting a calendar
If your organisation has set up calendar access, your Microsoft 365 or Google calendar is already there when you open Calendar — marked Connected by your organisation. If you disconnect it, it is not connected again automatically.
Your company sign-in can bring it along too: then it is there after you sign in, marked Connected with your company sign-in.
Otherwise you connect it yourself. The first time you open Calendar, the app suggests the account that fits – from how you sign in or your email address, e.g. Connect Microsoft 365 – and Microsoft or Google offer your account straight away. Not now puts the hint away; you can connect at any time like this:
- On a computer, click Connect an account on the left, under the calendars. On a tablet, the calendars are behind the Calendars & accounts icon at the top; on a smartphone, in the view menu at the top right under Calendars & accounts. Then tap Connect an account.
- Choose:
- Microsoft 365 or Google – you sign in there and allow access. Where signing in at Microsoft or Google isn’t set up for your DDM installation, the dialog takes you to your calendar’s iCal address instead: in Outlook under Publish a calendar, in Google Calendar under Integrate calendar › Secret address in iCal format. The calendar is then only read.
- CalDAV account (iCloud, Fastmail, …) – with Server address, User name or e-mail address and an App password. Your email address is already filled in as the user name. For iCloud the dialog shows where to create the app password; paste it with or without dashes and spaces. For Nextcloud and Own server the server's address is enough – DDM finds the calendar path itself.
- iCal subscription (read only) – with the Calendar link.
The app synchronises changes in both directions. Calendars that can only be read show a padlock.
Creating an appointment
Click + Appointment – on a smartphone, the round button at the bottom right – enter a title and press ↵. Then add Starts, Ends, Location and Description. The Description is the appointment's own text, as Outlook or Google show it too – for your own notes on the appointment there is a note, see Writing a visit report.
Attaching material to an appointment
Open the appointment
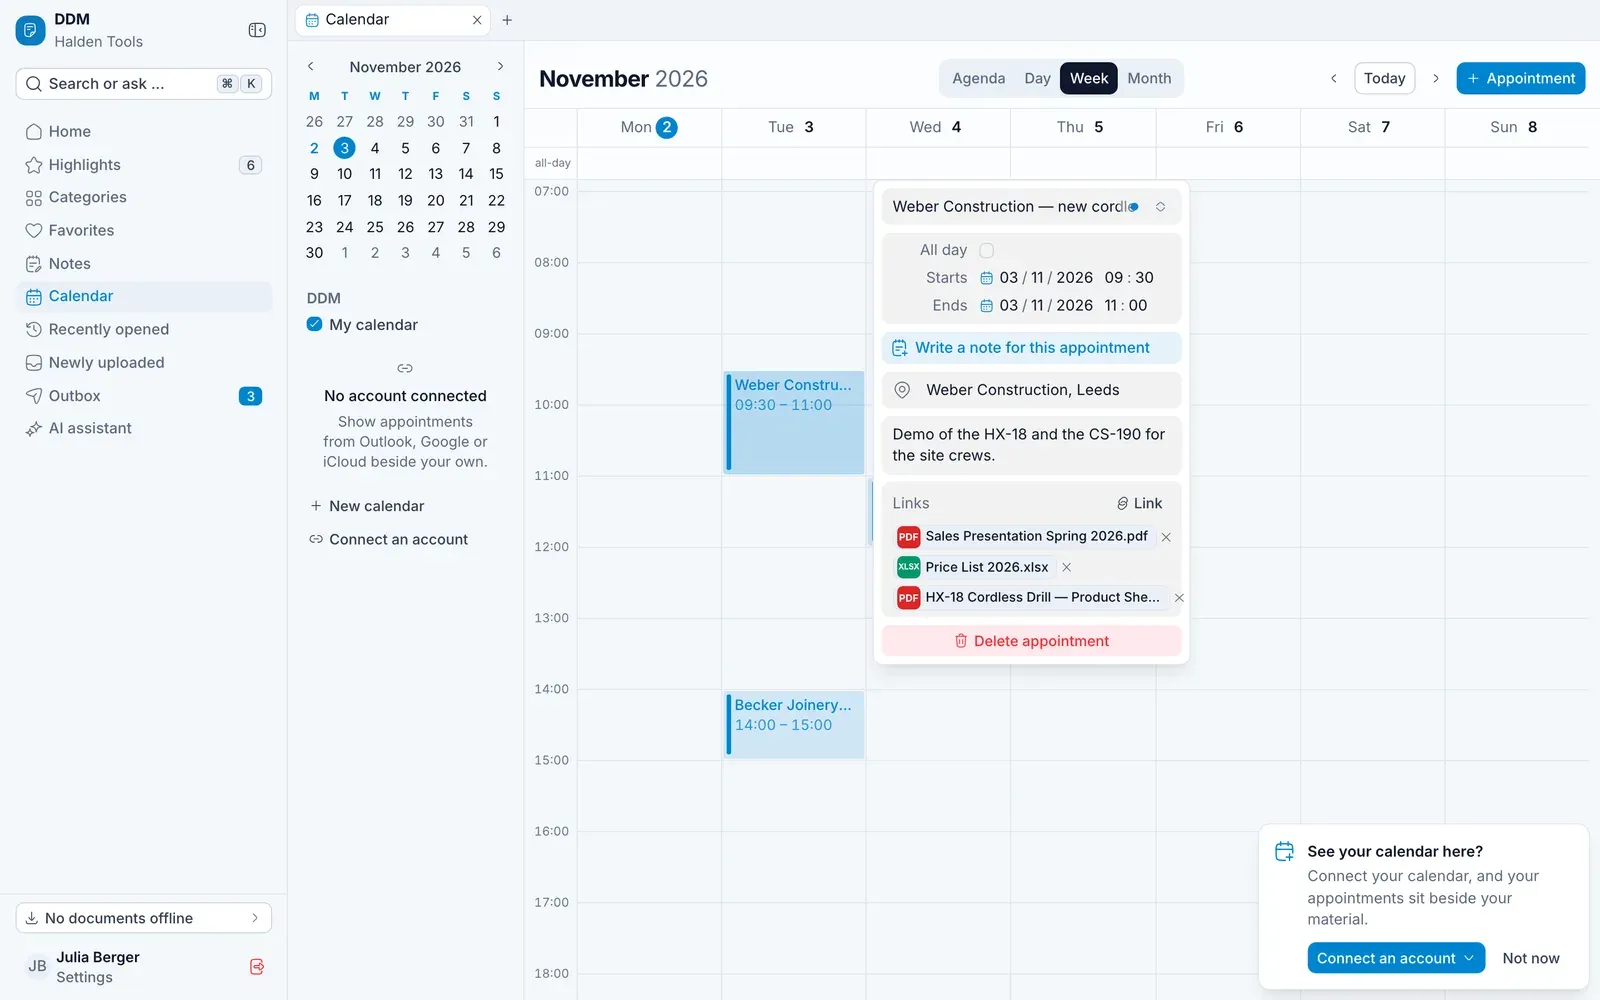
Click or tap the appointment.
Link
Under Links, click Link and choose Document, Category, Favorites folder or Note.
Select
Search for the item and select it. It appears as a chip on the appointment – tapping it opens it.
For recurring appointments, the link applies to every appointment with For every appointment of the series.
Writing a visit report
- Open the appointment and click Write a note for this appointment, right under the time.
- Choose a template – such as Appointment (default) or your organisation's visit report.
The new note has the appointment's name and is already filled in: when and where, the attendees with their responses, the linked material and space for notes. It is linked to the appointment.
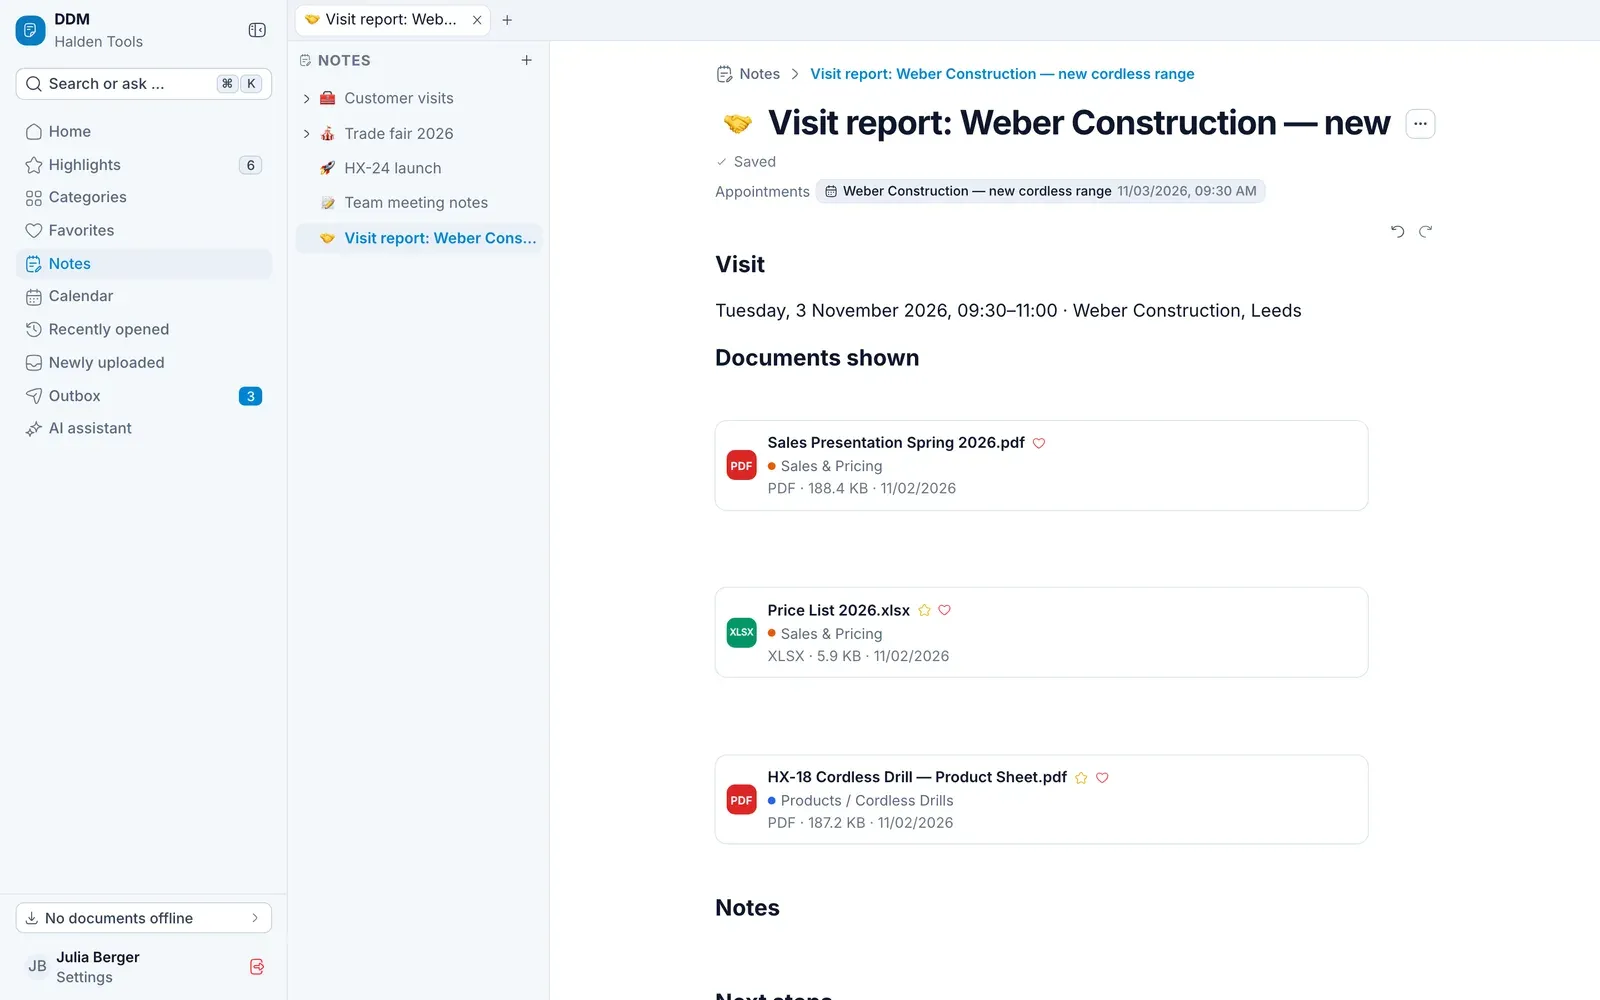
Once an appointment has a note, the calendar shows a small note icon beside its title, and the appointment shows Open note instead of the button.
Other ways to an appointment's note:
- When creating it: instead of ↵, click Create and write a note – the appointment is created and its note opened.
- Right-click the appointment: Write a note for this appointment or Open note.
- From anywhere: in search (⌘Ctrl k) choose Note for an appointment … – the app then asks For which appointment?.
- Under Notes: New note and a template for appointments – then, too, the app asks for the appointment.
- Under Links: Link › New note for this appointment.