 DDM Help
Approvals
Approvals make sure that only checked documents reach your readers. Workflows decide who does the checking – for example a two-person rule for all price lists.
Submitting a document
- Open the document in Documents.
- In the Details tab, in the Approval box, click Submit for approval.
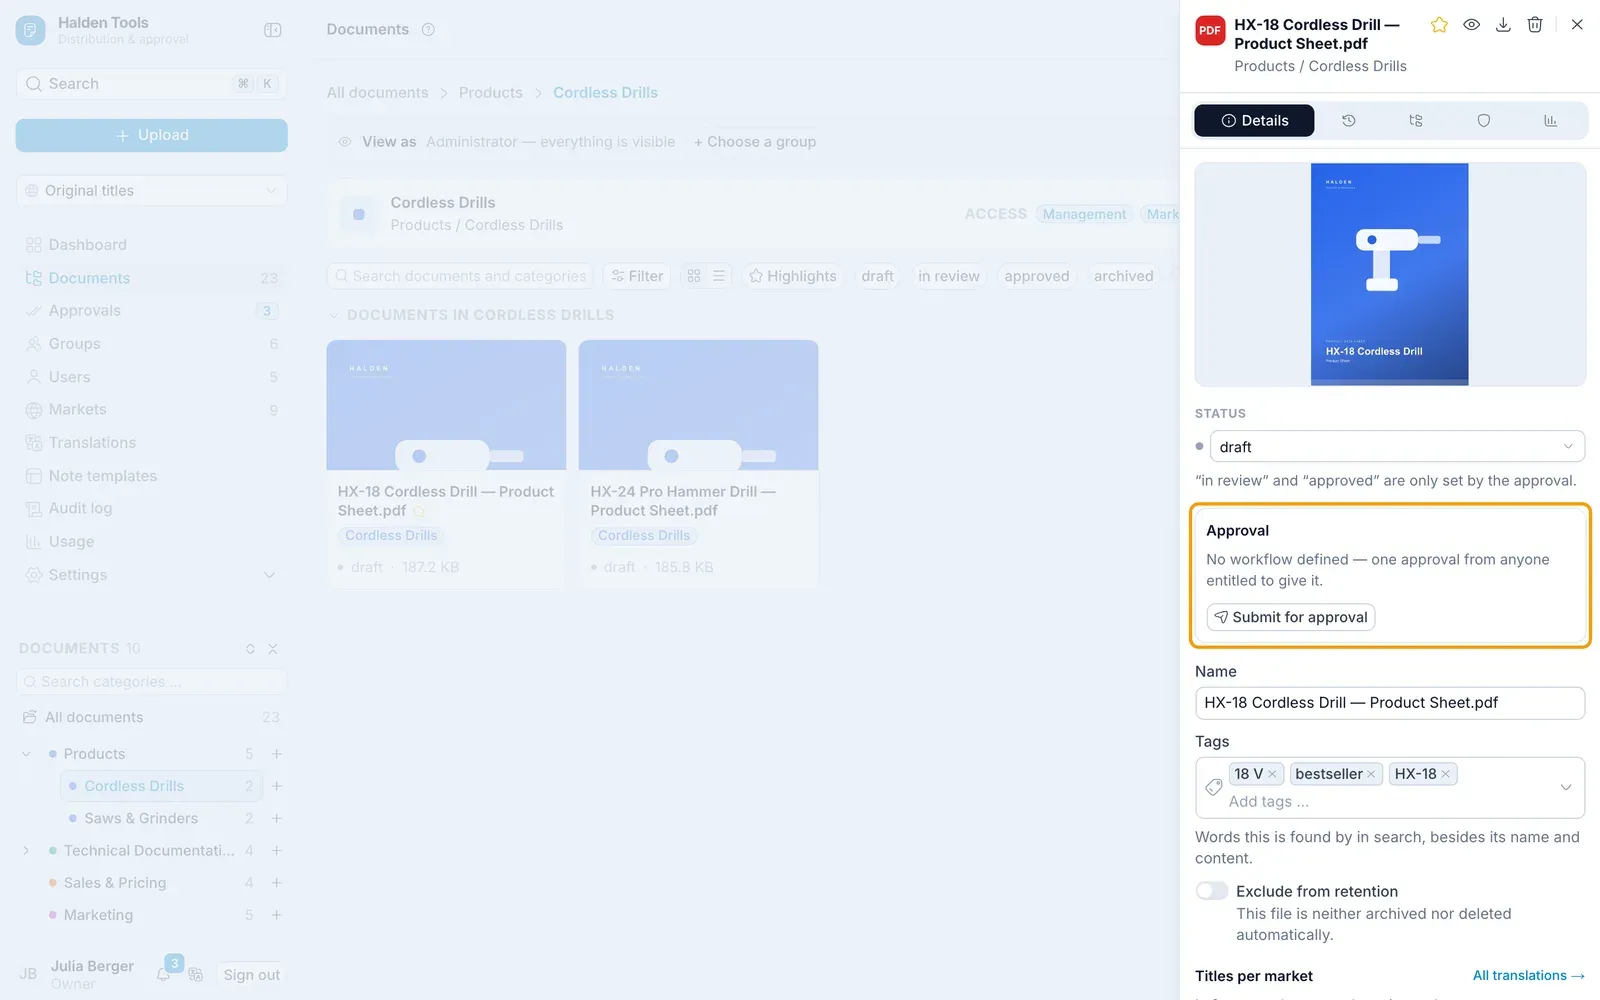
The box then shows Awaiting approval — step 1 of …. Until a decision is made, you can cancel with Withdraw.
Approving or rejecting
You can see what is waiting for you under Approvals in the navigation (with a count), on the dashboard and at the bell.
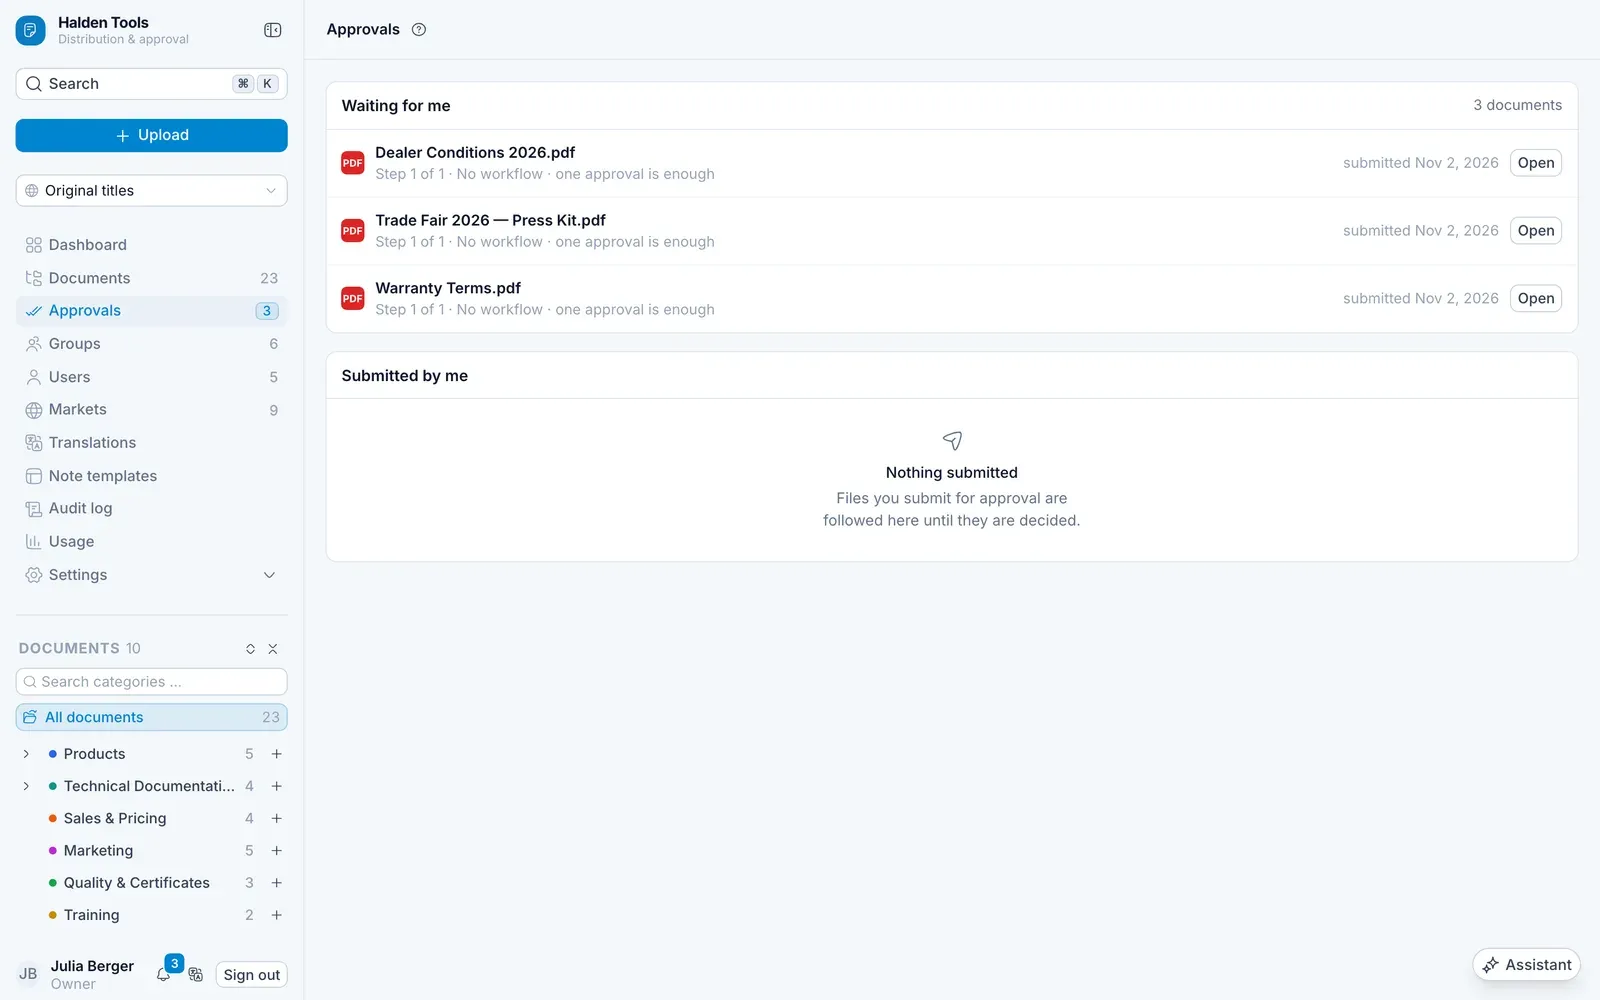
- Under Waiting for me, click Open.
- Check the document, for example with View.
- Click Approve – or Reject and write a Reason.
A rejected document goes back to draft; whoever submitted it sees the reason.
Under Submitted by me you can see what your own documents are still waiting for.
Setting up workflows
Administrators create workflows under Settings › Approval workflows.
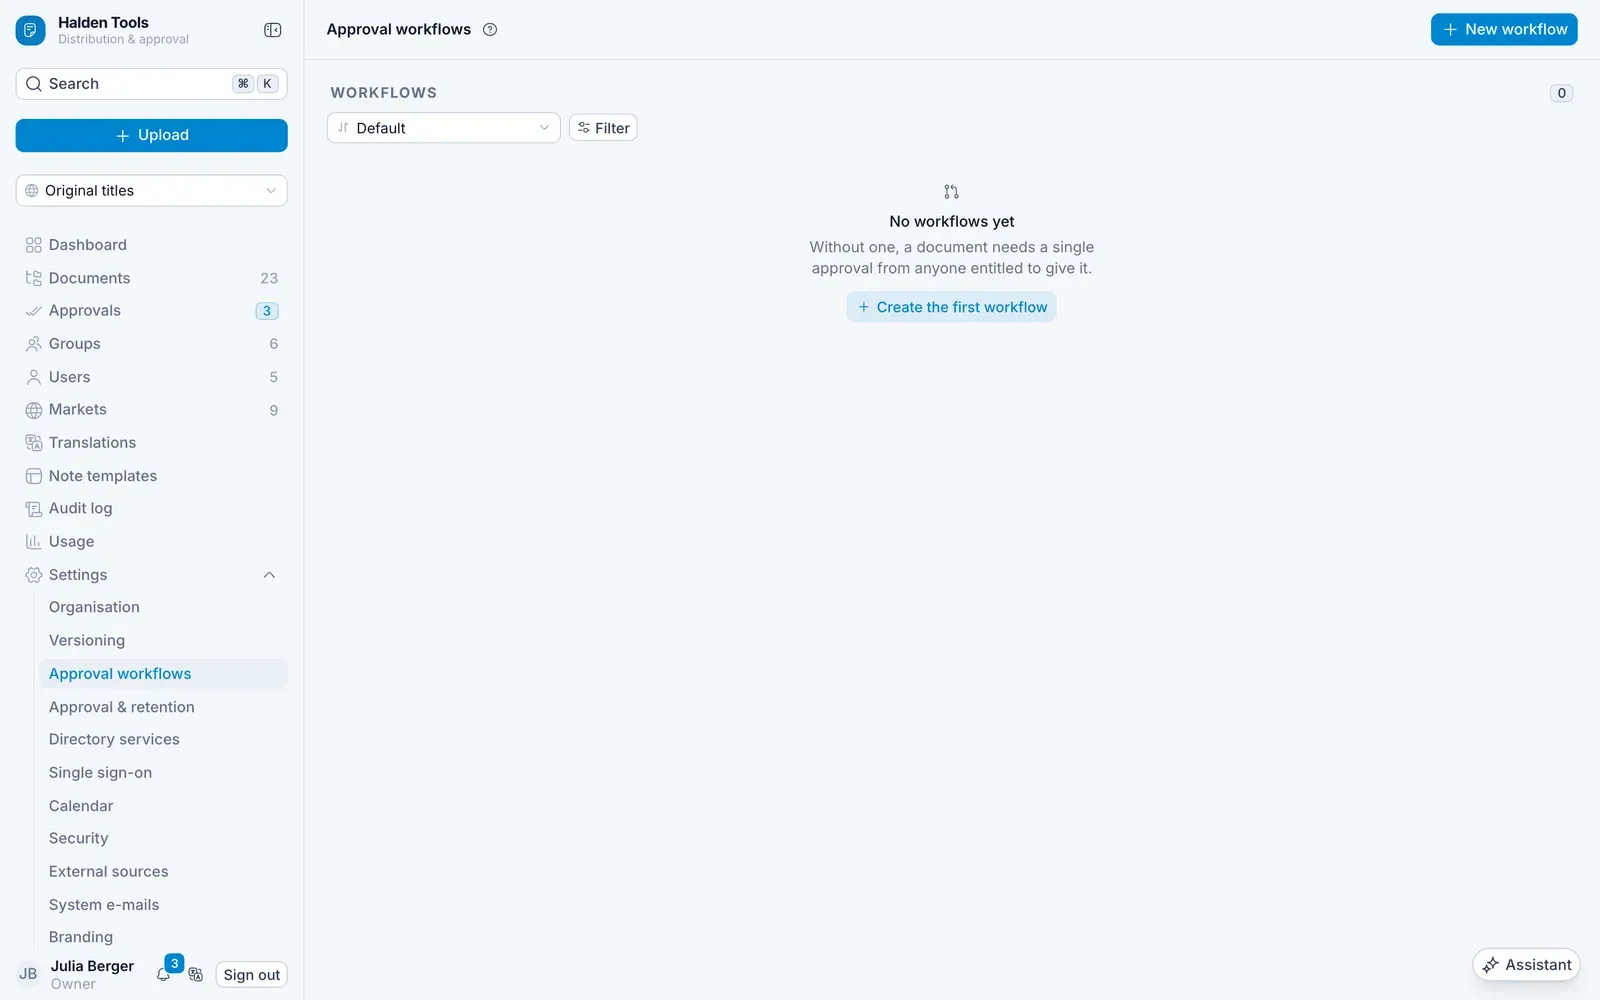
Create a workflow
Click New workflow at the top right, enter a Name (e.g. "Two-person rule") and click Create.
Applies to
Choose what it applies to: Everywhere, One market or One category. If more than one workflow applies, the more specific one wins: category before market before everywhere. Switch it to Active and click Save.
Steps
Under Steps, add the checks with Add step. For each step:
- Approved by – a Group (its group admins) or specific People,
- Decision – Everyone must approve, One approval is enough or A minimum number,
- Deadline (days).
Click Save steps.
Deadlines
Under Deadlines you decide when reminders go out and to whom an overdue approval is escalated. Apply with Save deadlines.
With many workflows, Sort and Filter above the list narrow it down – for example to the inactive ones. To rename a workflow, change its Name and click Save. The bin beside its name removes it (Remove workflow); documents it governed then need a single approval from anyone entitled to give one.
What approvals do
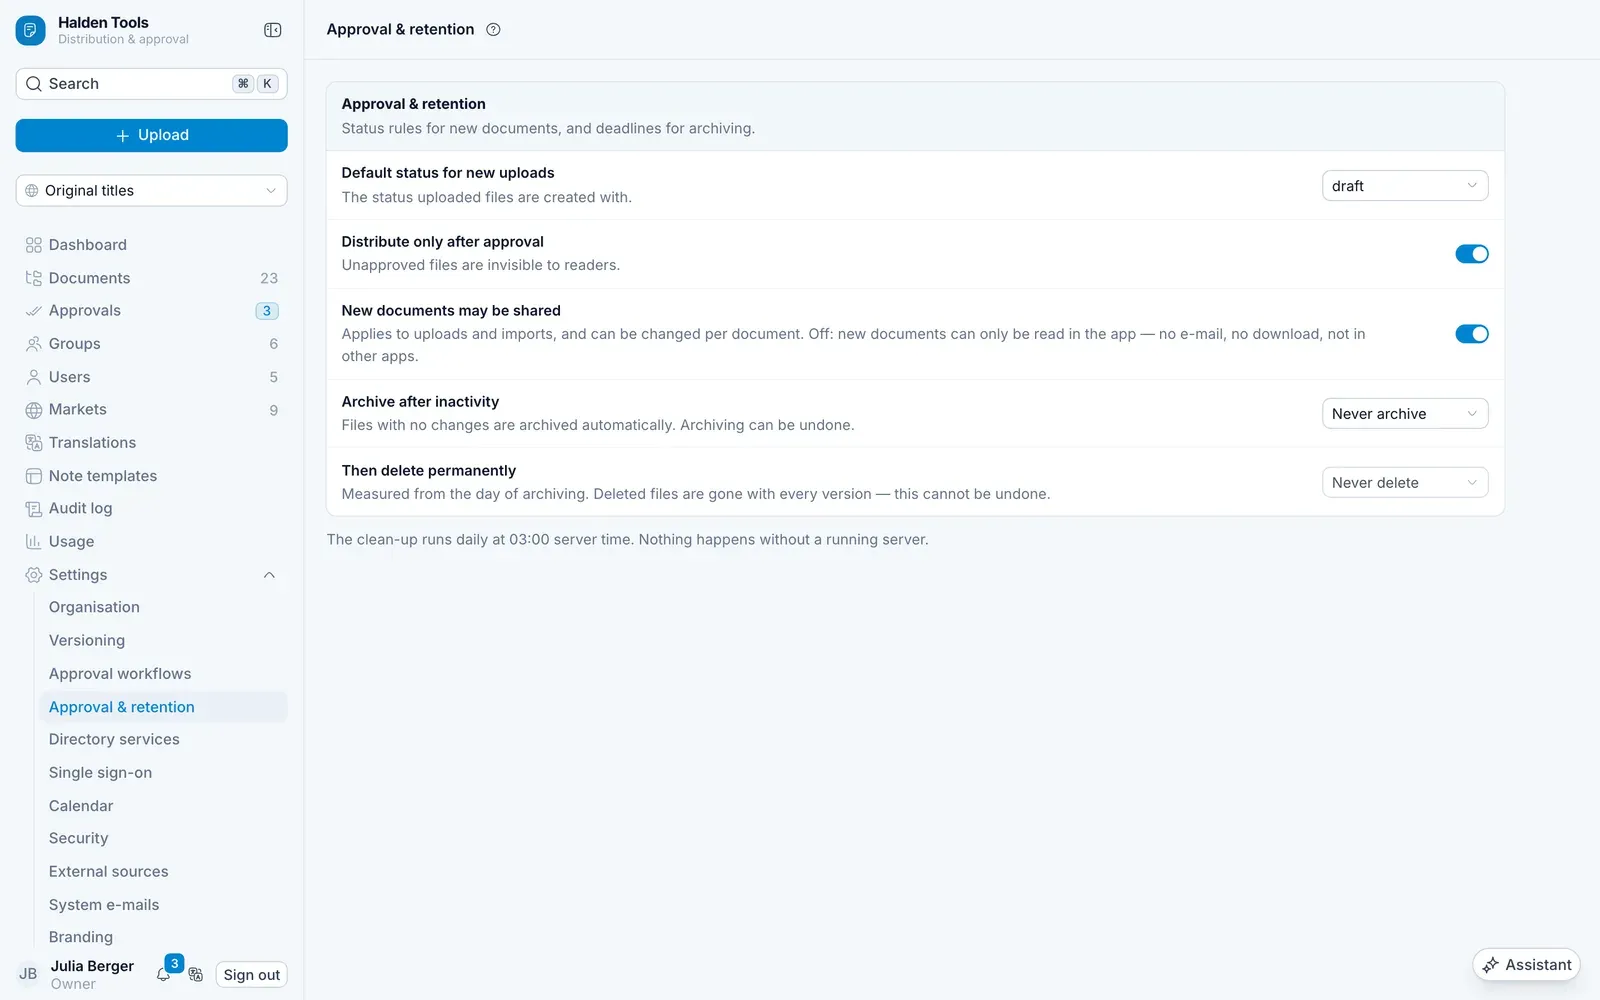
Under Settings › Approval & retention:
- Default status for new uploads – the status new documents start with.
- Distribute only after approval – documents that have not been approved are invisible to readers.
- Archive after inactivity and Then delete permanently – tidies up old documents automatically. What will be deleted soon is listed under Due for deletion and can be brought back there with Restore.